
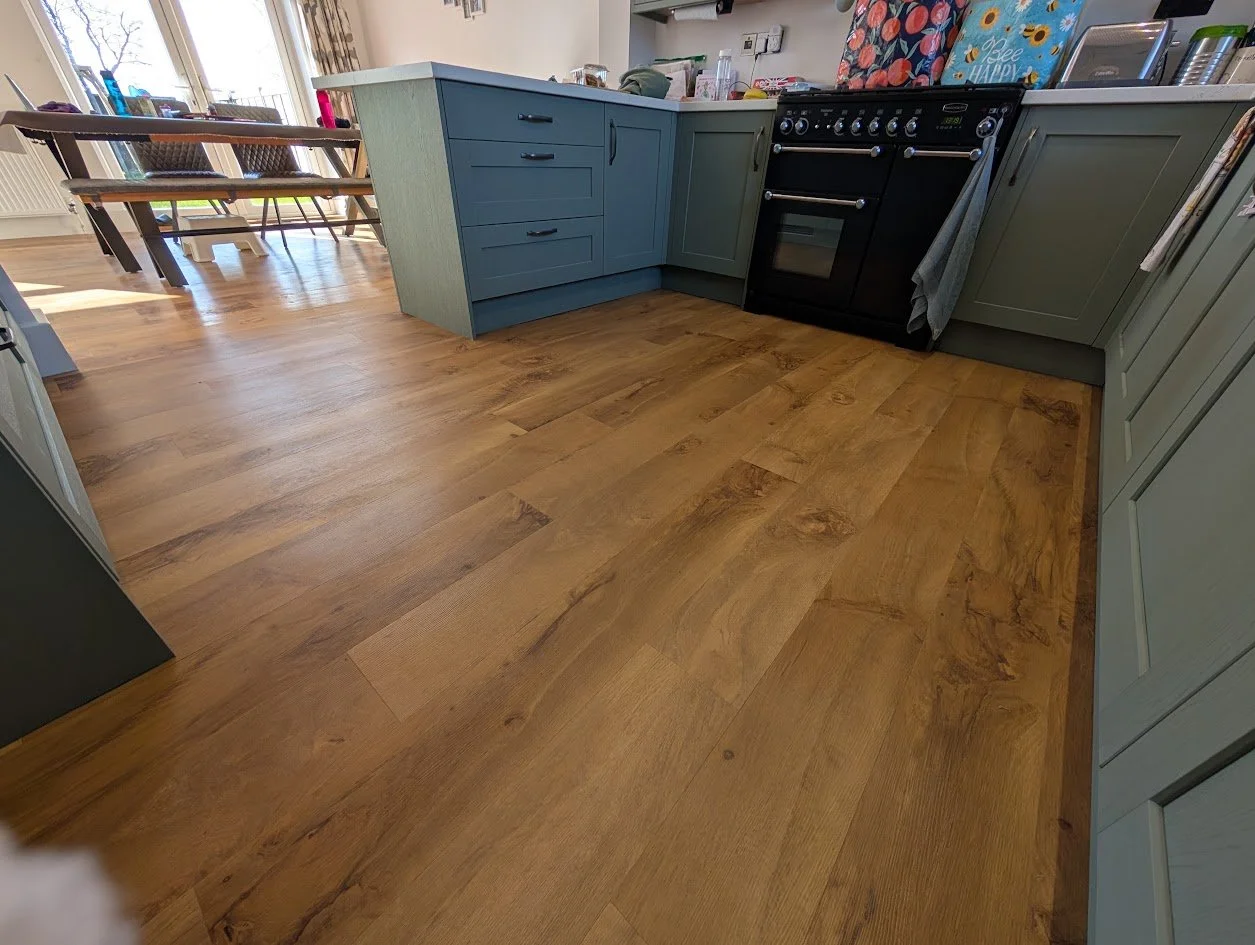
Luxury vinyl tile
Why Choose LVT Flooring?
Luxury Vinyl Tile (LVT) is a fantastic choice for anyone looking for a stylish, durable and practical floor that’s made for everyday life.
Designed to realistically recreate the look of natural wood or stone, LVT gives you a huge choice of colours, patterns and styles without many of the maintenance worries that come with natural materials. It’s hard-wearing, easy to clean and water-resistant, making it particularly well suited to busy family homes, kitchens, hallways and living spaces.
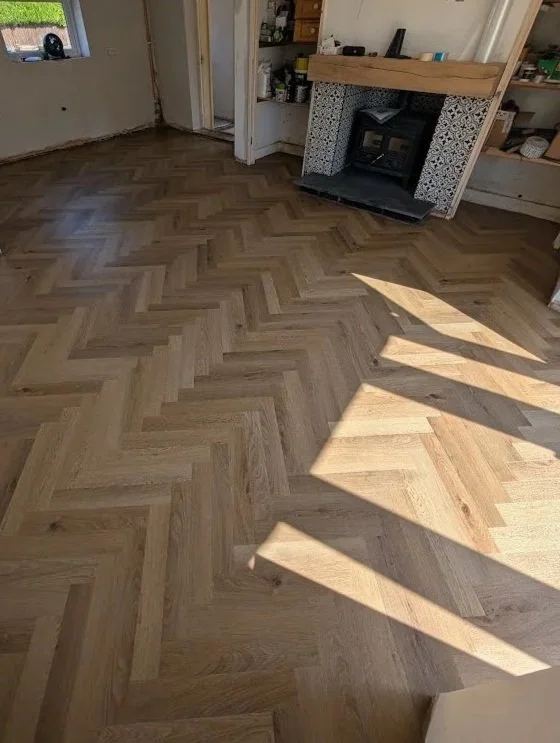
With options including traditional plank layouts, contemporary designs and eye-catching herringbone patterns, LVT can work beautifully in almost any room.
At Eden Flooring, we believe a great LVT floor is about more than just the flooring you choose. Careful subfloor preparation and professional installation are essential to achieving a smooth, long-lasting finish, which is why we take care of the process from preparation through to the final fitted floor.
One Floor, Endless Possibilities
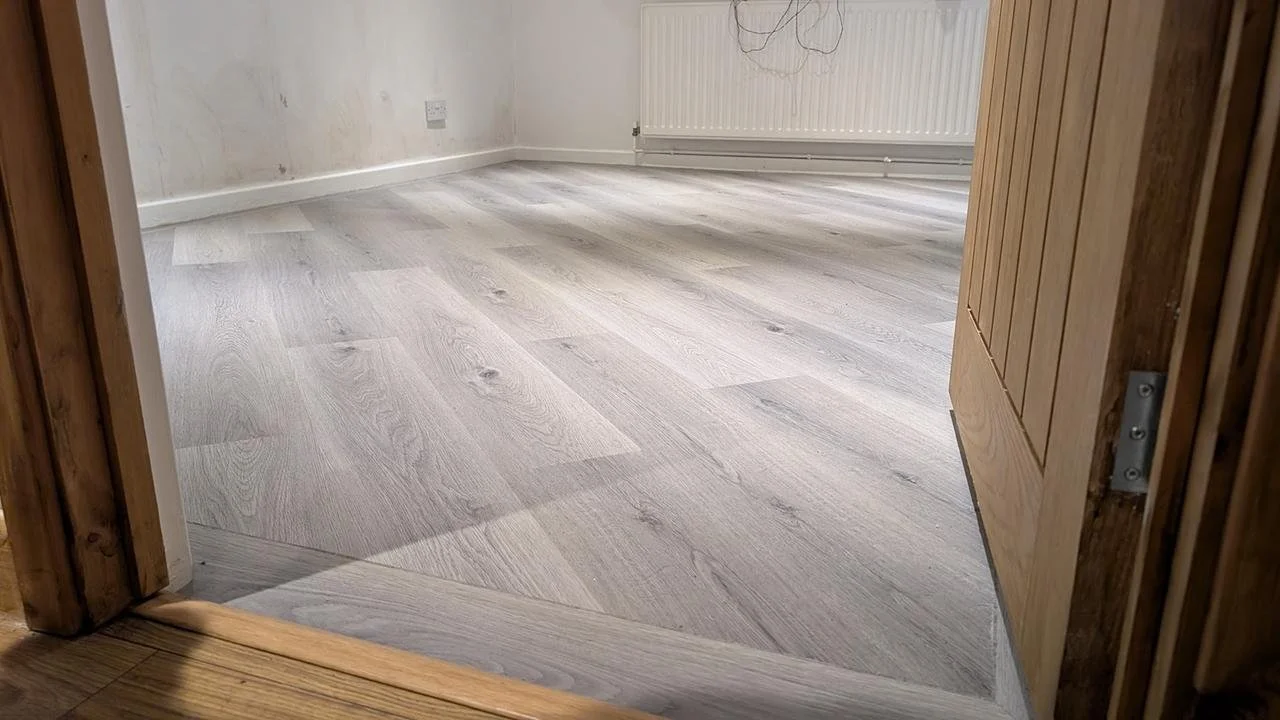
One of the great things about LVT is just how much freedom you have with the finished design. The same flooring can create a completely different look simply by changing the way it is laid.
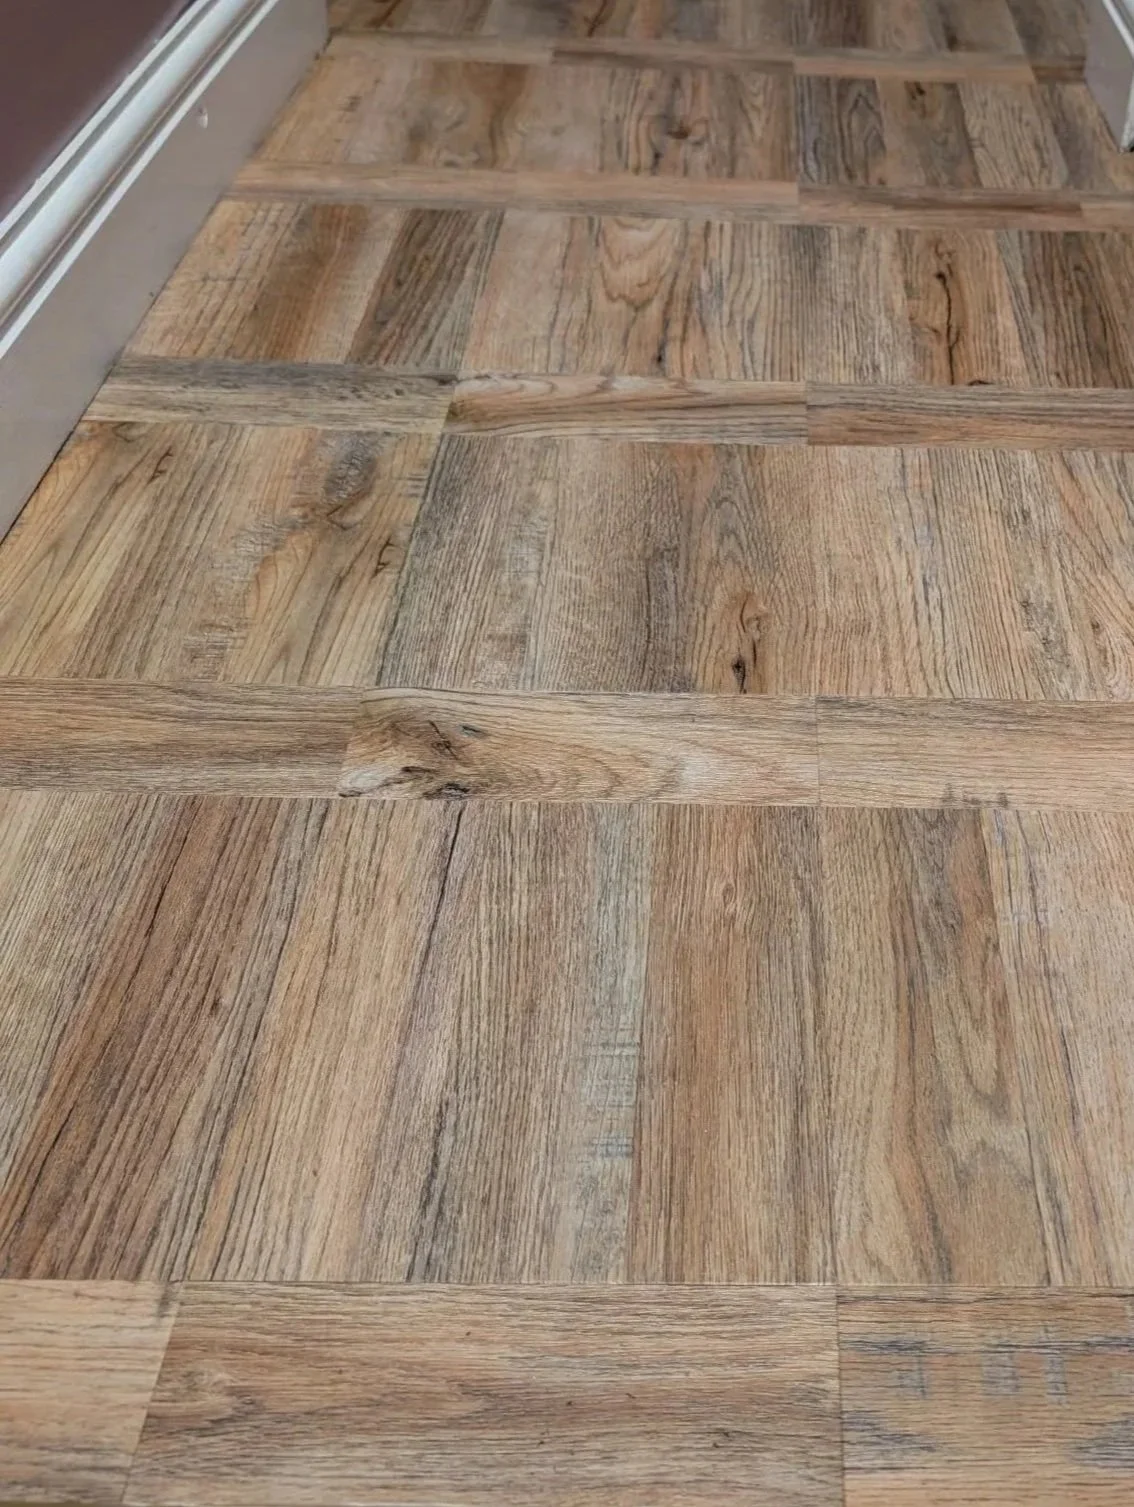
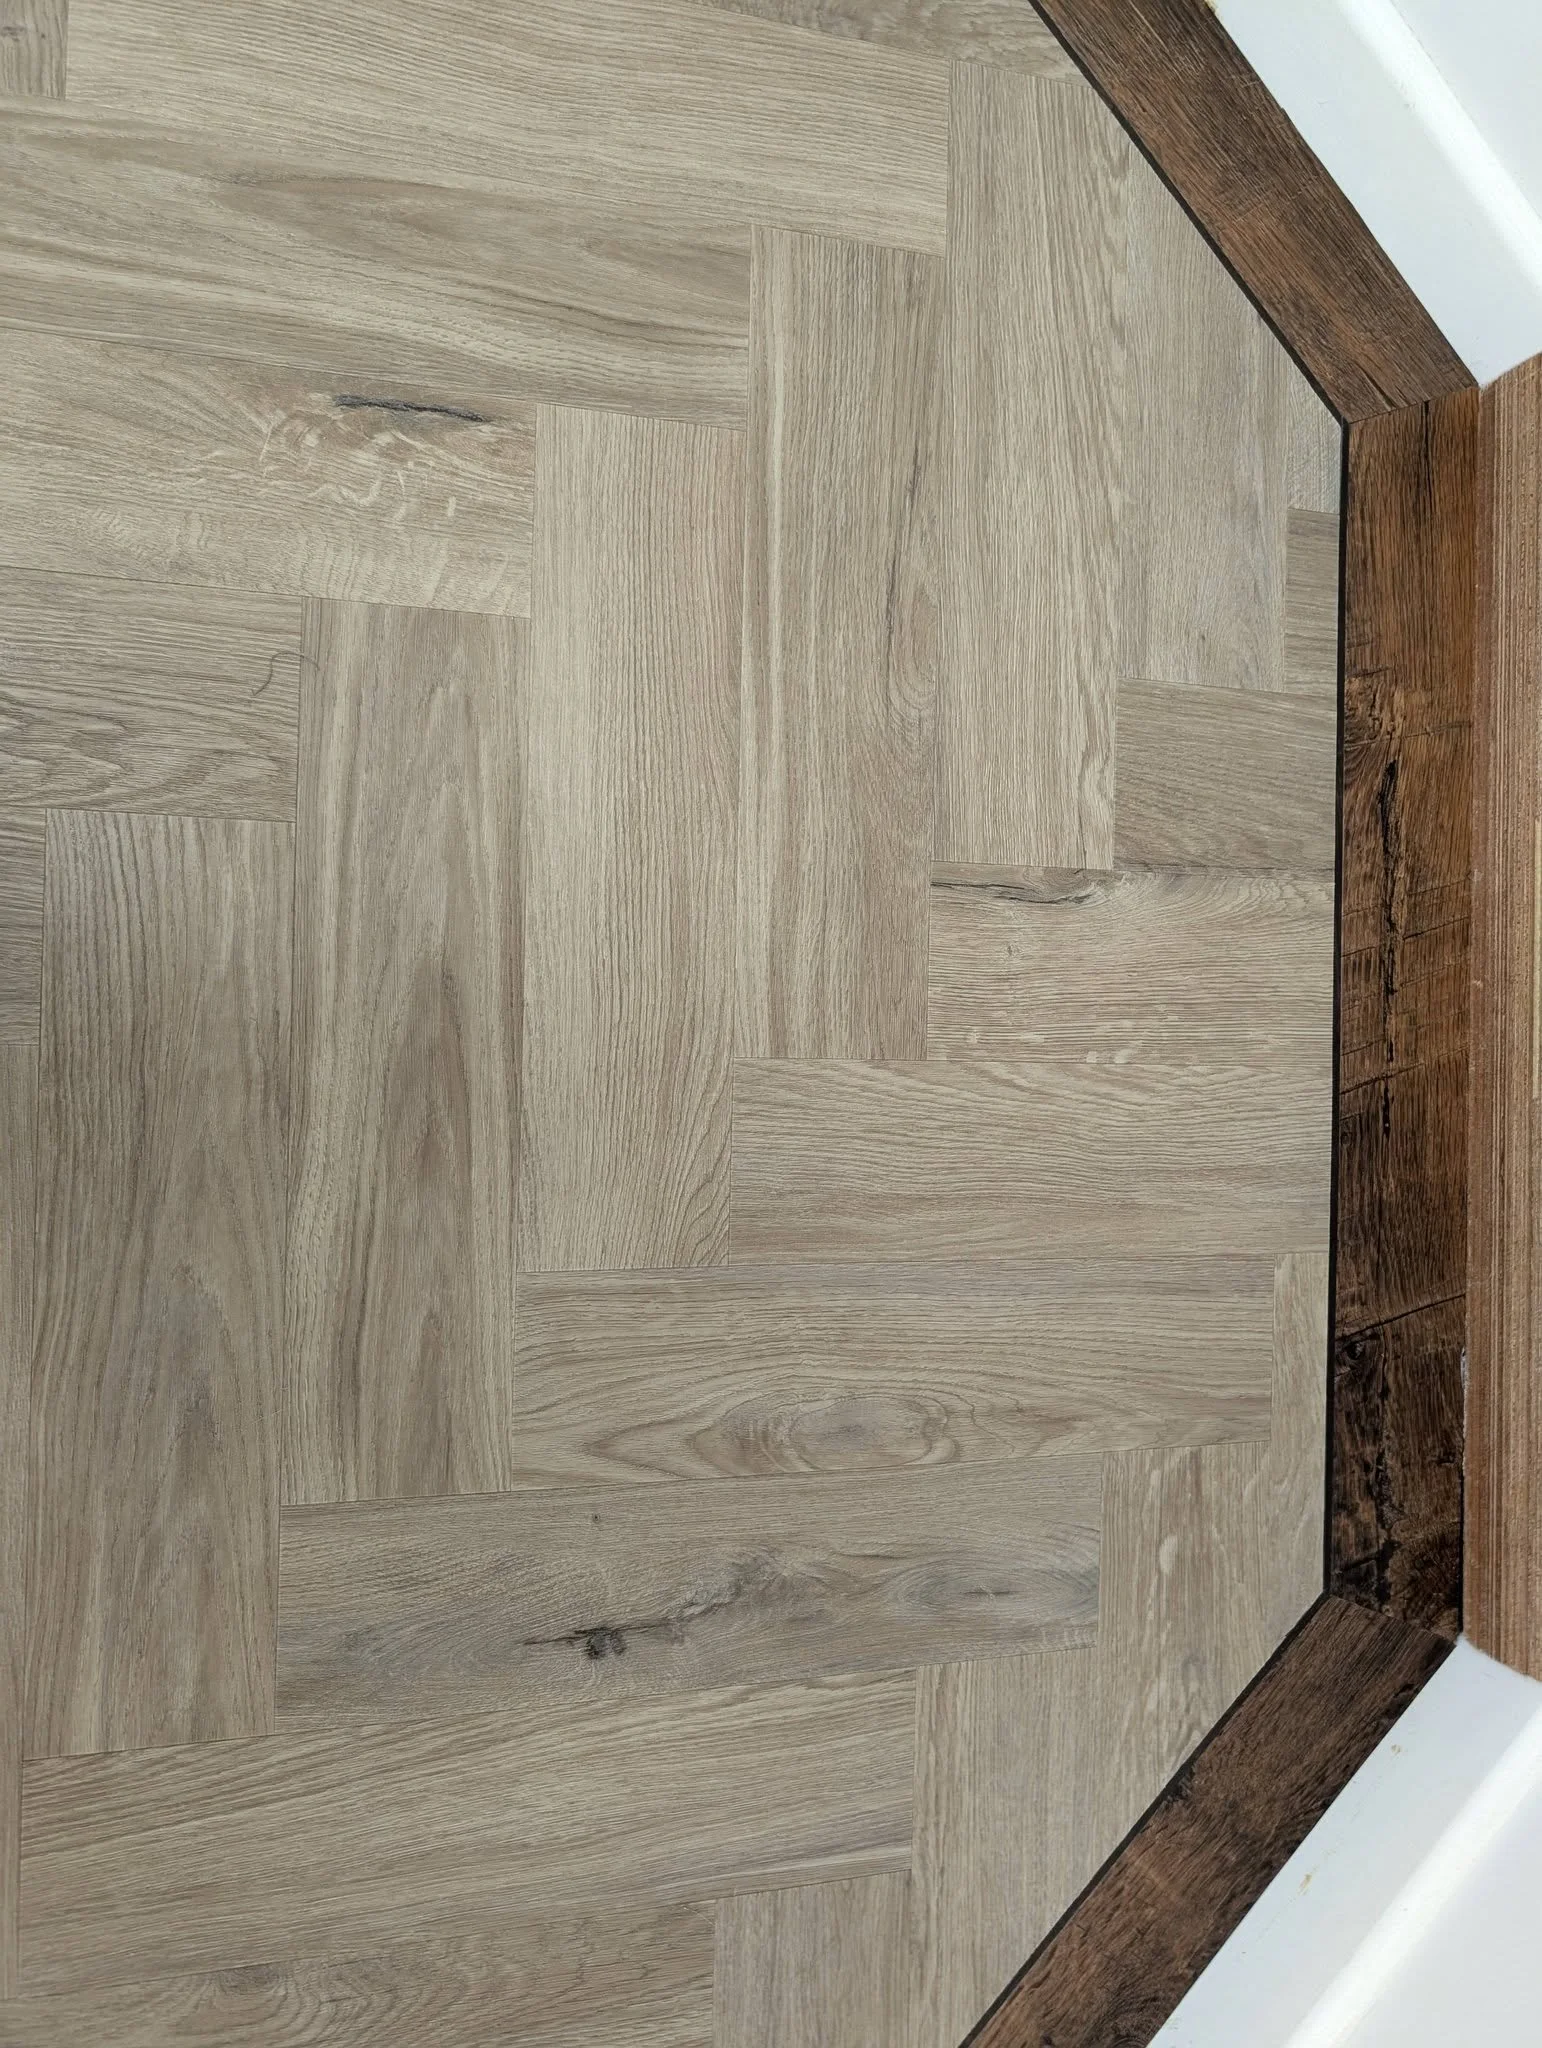
Keep things clean and simple with a traditional straight lay, create a feature with herringbone, add character with a basket weave, or turn the entire floor through 45 degrees for something a little different.
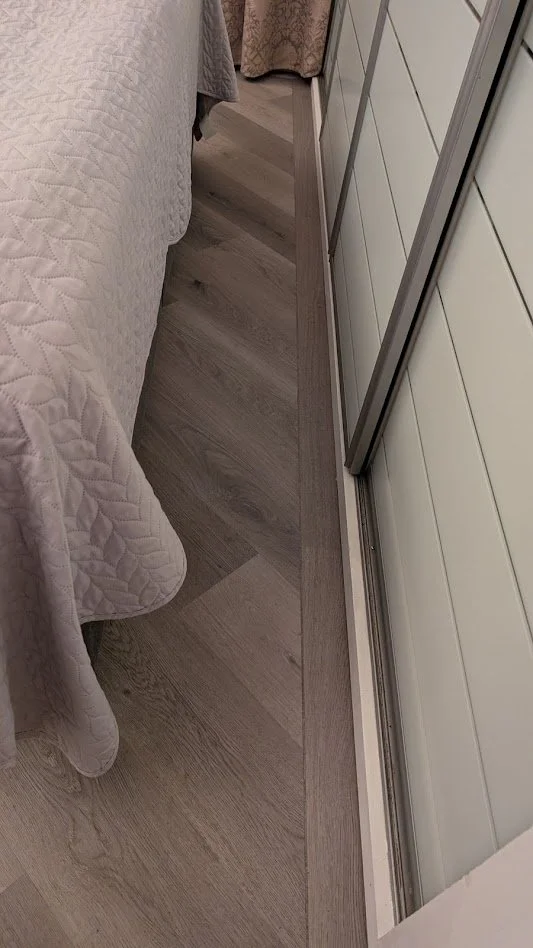
You can take the design even further by adding borders and tramlines to frame the room, highlight certain areas or give the floor a more bespoke finish.
There isn't always one “right” way to lay an LVT floor. We can help you explore the different options and choose a layout that works with the shape of your room, your chosen flooring and the overall look you want to achieve.
From Subfloor to Finished Floor
A great LVT installation starts long before the first plank is laid. Every floor is different, so we assess the area and prepare the subfloor properly before installation begins.
1. Survey & Moisture Testing
We start by assessing the existing floor, taking measurements and checking the condition of the subfloor. Where required, we also carry out moisture testing to make sure the floor is suitable for the chosen installation.
2. Subfloor Preparation
The finished LVT will only ever be as good as the surface underneath it. Depending on the existing floor, preparation can include removing old flooring and adhesives, mechanical grinding, repairs and other work needed to create a sound base.
3. Priming & Smoothing
Where required, the subfloor is professionally primed before a smoothing compound is applied. This creates the smooth, level surface needed for a high-quality LVT finish and helps prevent imperfections in the subfloor showing through your new flooring.
4. Setting Out the Design
Before fitting begins, we carefully plan the layout. Whether you've chosen straight lay, herringbone, basket weave, a 45-degree installation or a design incorporating borders and tramlines, good setting out is essential for a balanced and professional-looking floor.
5. Installing Your LVT
The flooring is then installed using the appropriate method and adhesive for the product and subfloor. We work carefully to maintain the chosen pattern, accurate lines and neat detailing throughout the room.
6. Finishing Touches
Finally, we complete the details around edges, doorways and adjoining floors before checking and cleaning the finished installation.
7. Your Finished Floor
The result is a professionally prepared and installed LVT floor designed to look fantastic and stand up to everyday life for years to come.